Tools & Supplies (suggested)
- Chain breaker/riveting tool and master-link pliers
- Rear stand or lift
- Wrenches/sockets for rear axle and adjusters
- Chain lube
- Rags and gloves
- Safety glasses
1. Prep the Bike
- Put the bike on a stand so the rear wheel spins freely.
- Shift into neutral.
- Remove the front sprocket cover (if applicable).
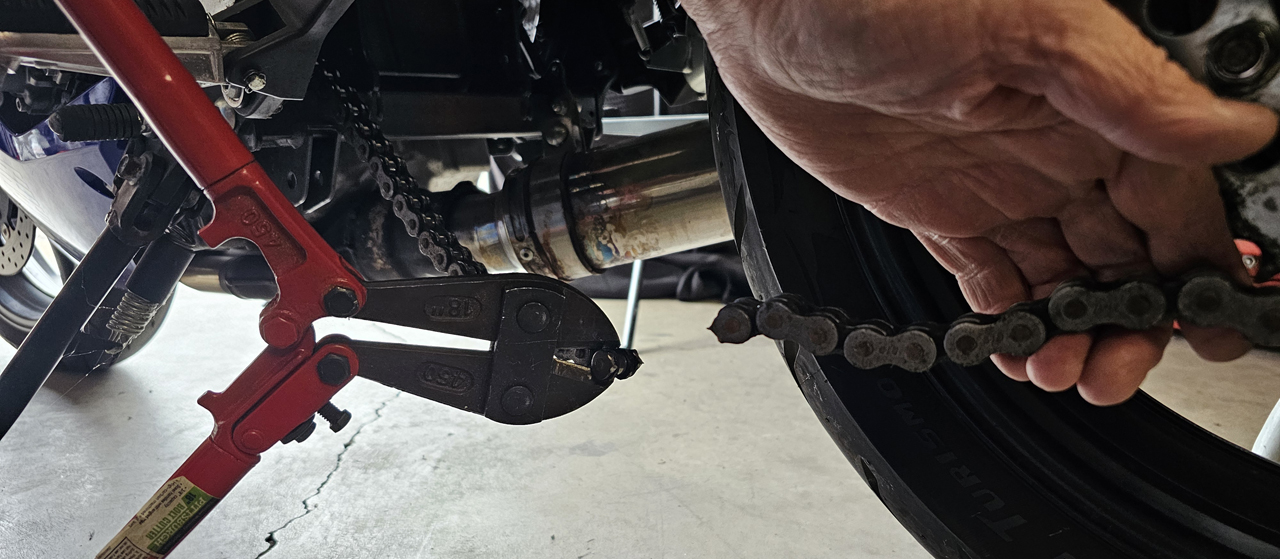
2. Remove the Old Chain
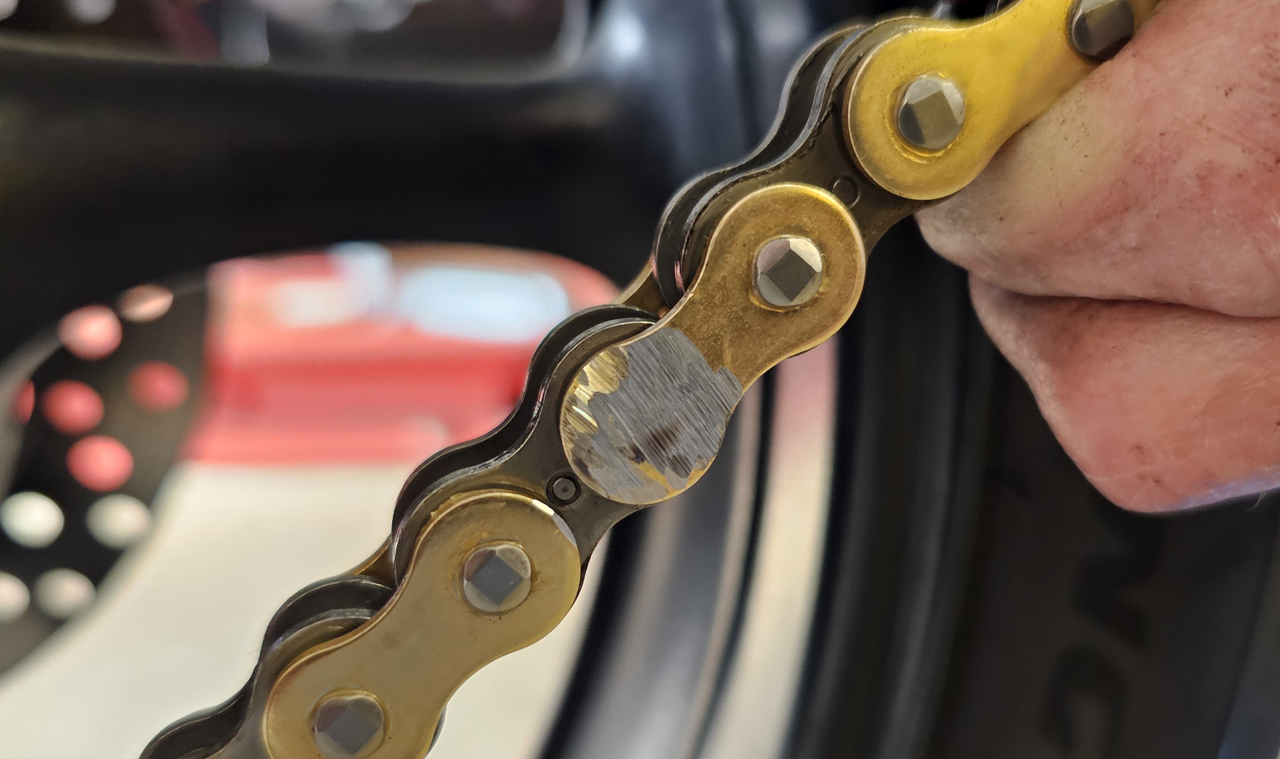
- Put on your safety glasses and locate the master link and remove it (cut, clip off or grind/push pin out).
- Pull the old chain off the sprockets. If needed, use the old chain and a zip-tie to “pull” the new one through the swingarm and around the front sprocket.
Image
Image
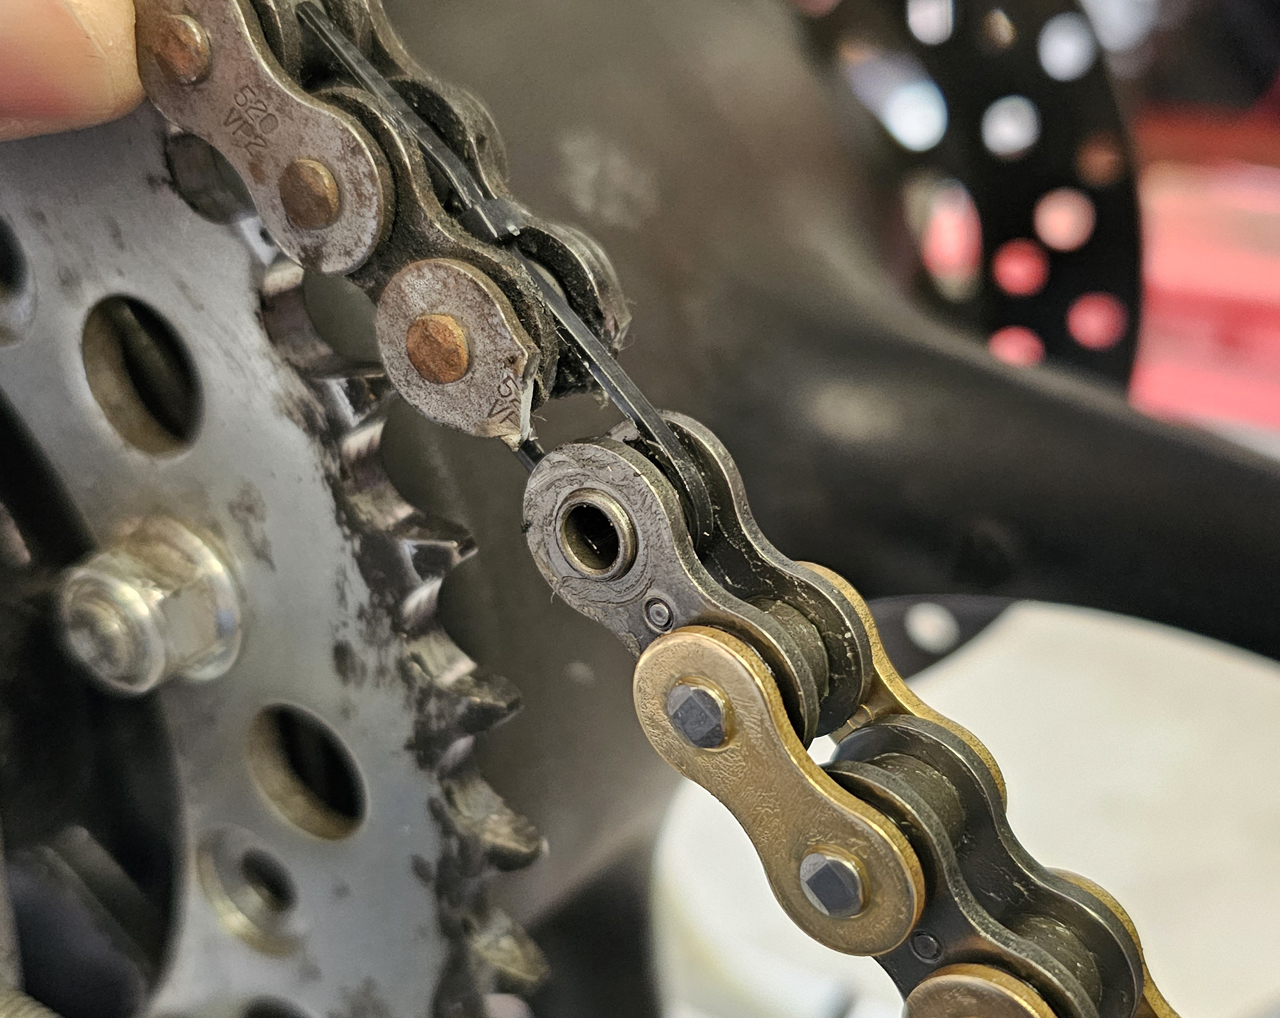
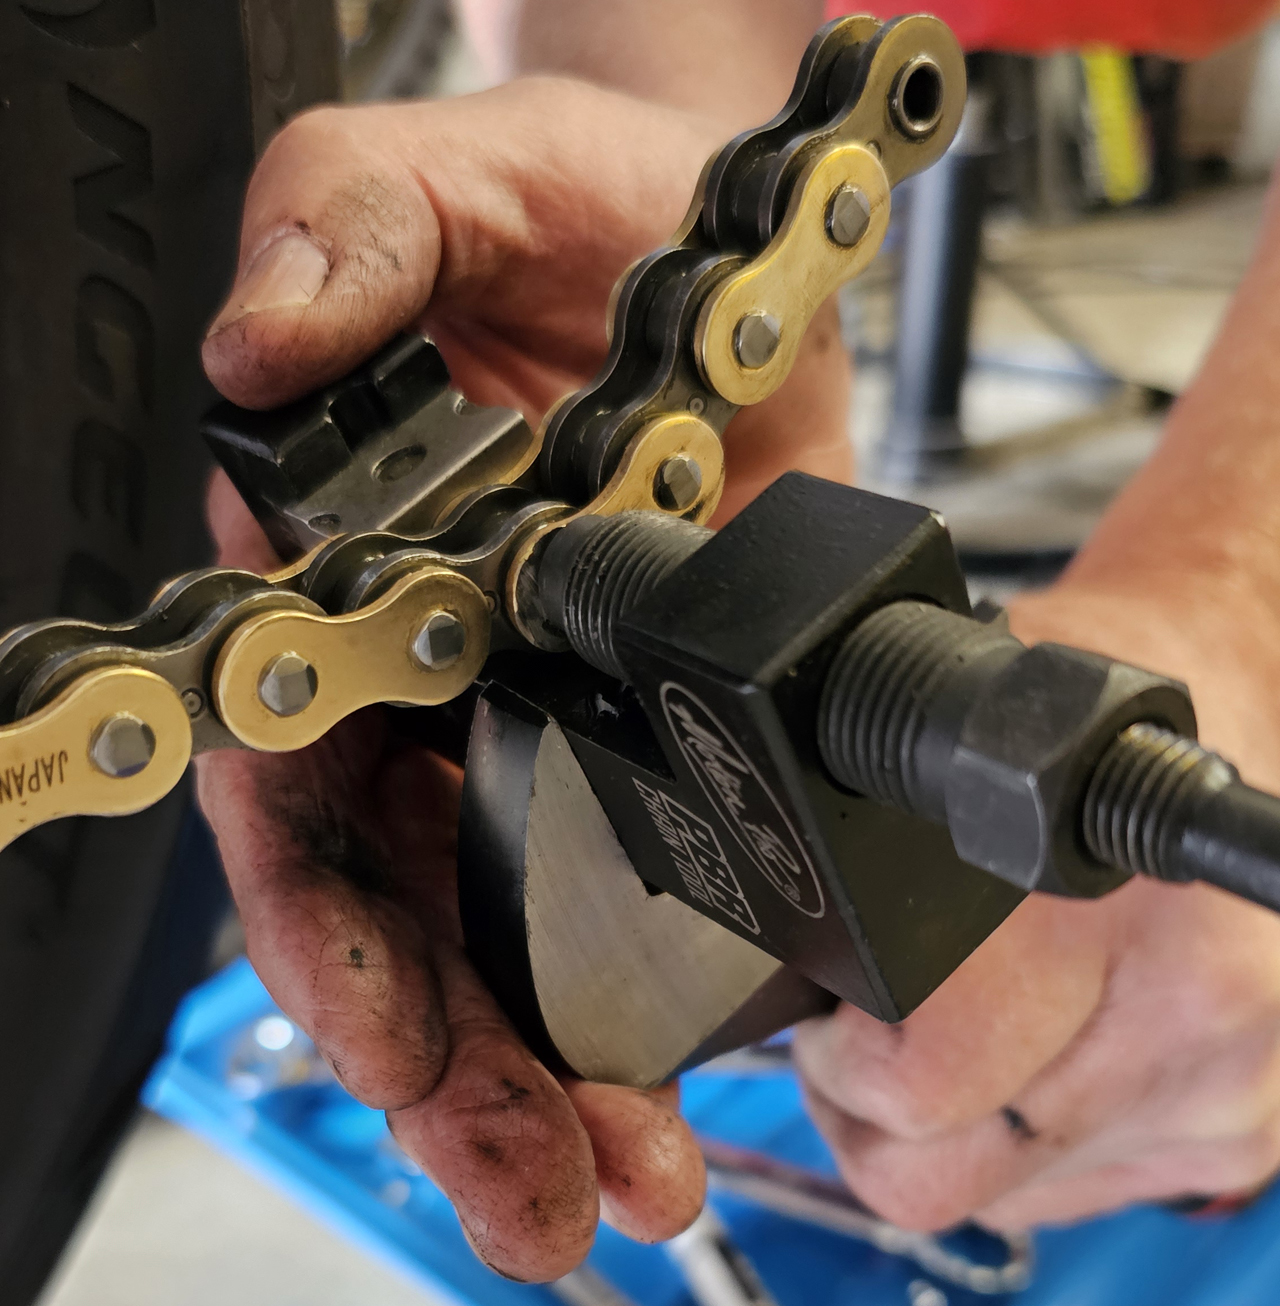
3. Fit the New Chain
- Loop the new chain onto the front and rear sprockets.
- Check chain length — trim with a chain breaker so it matches the old chain length.
Image
Image
Image
Image

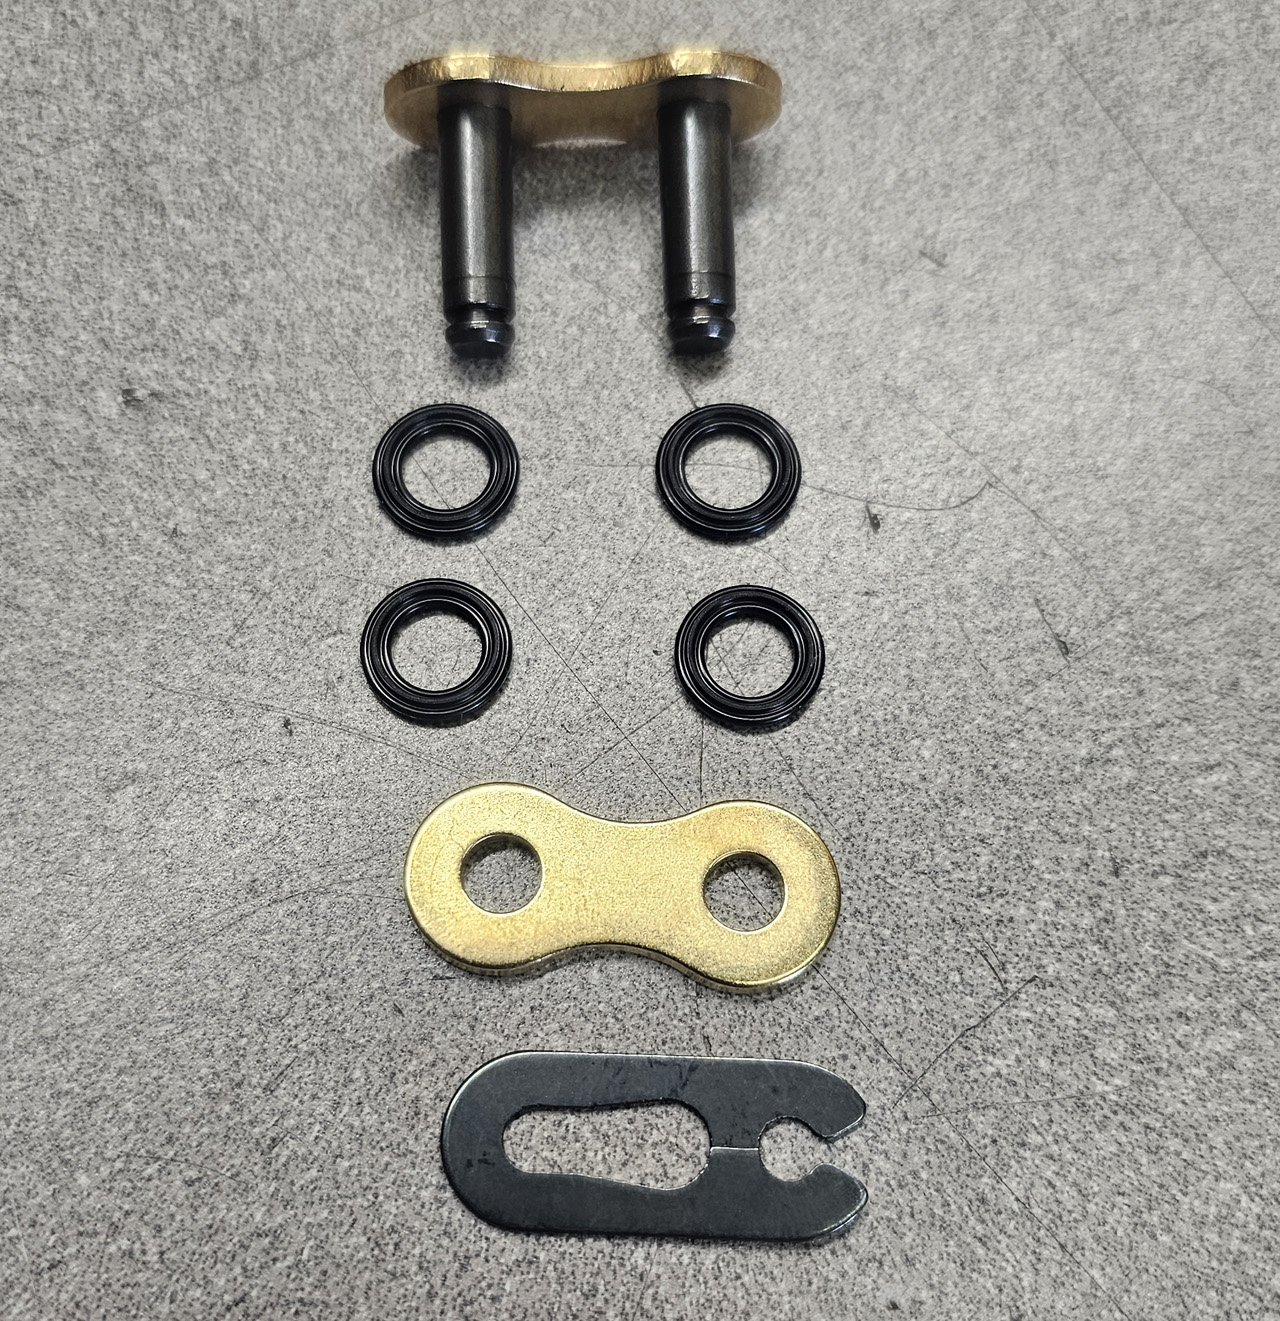
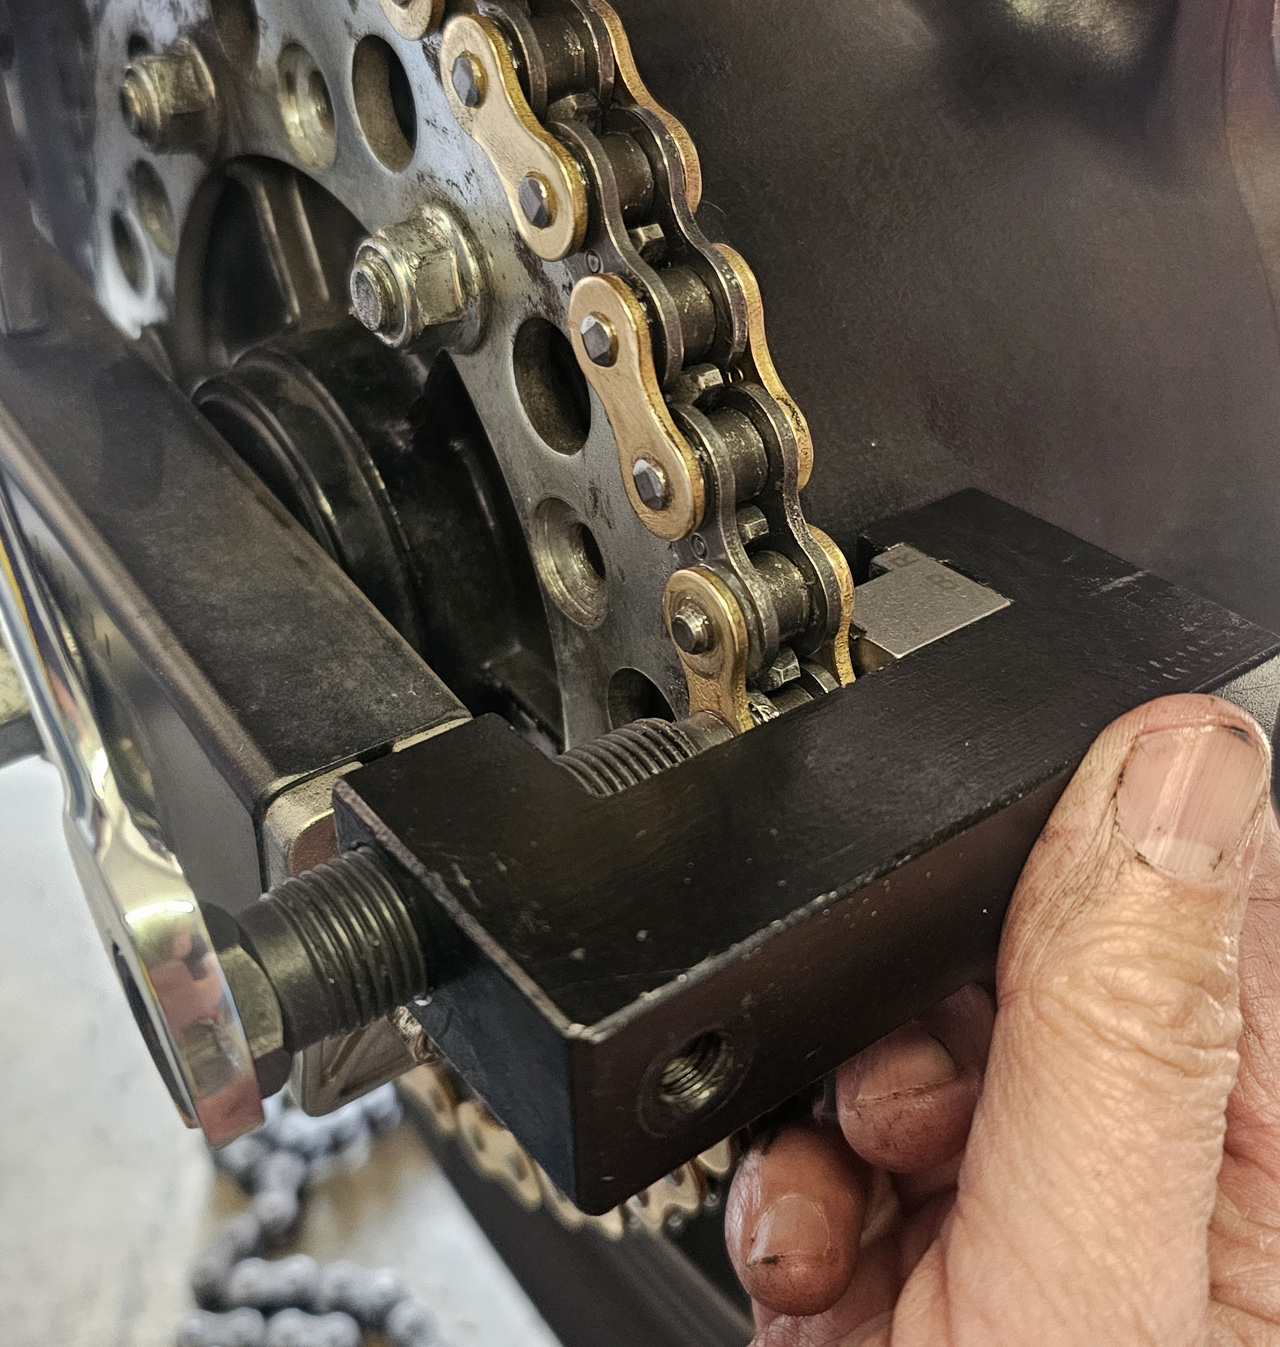
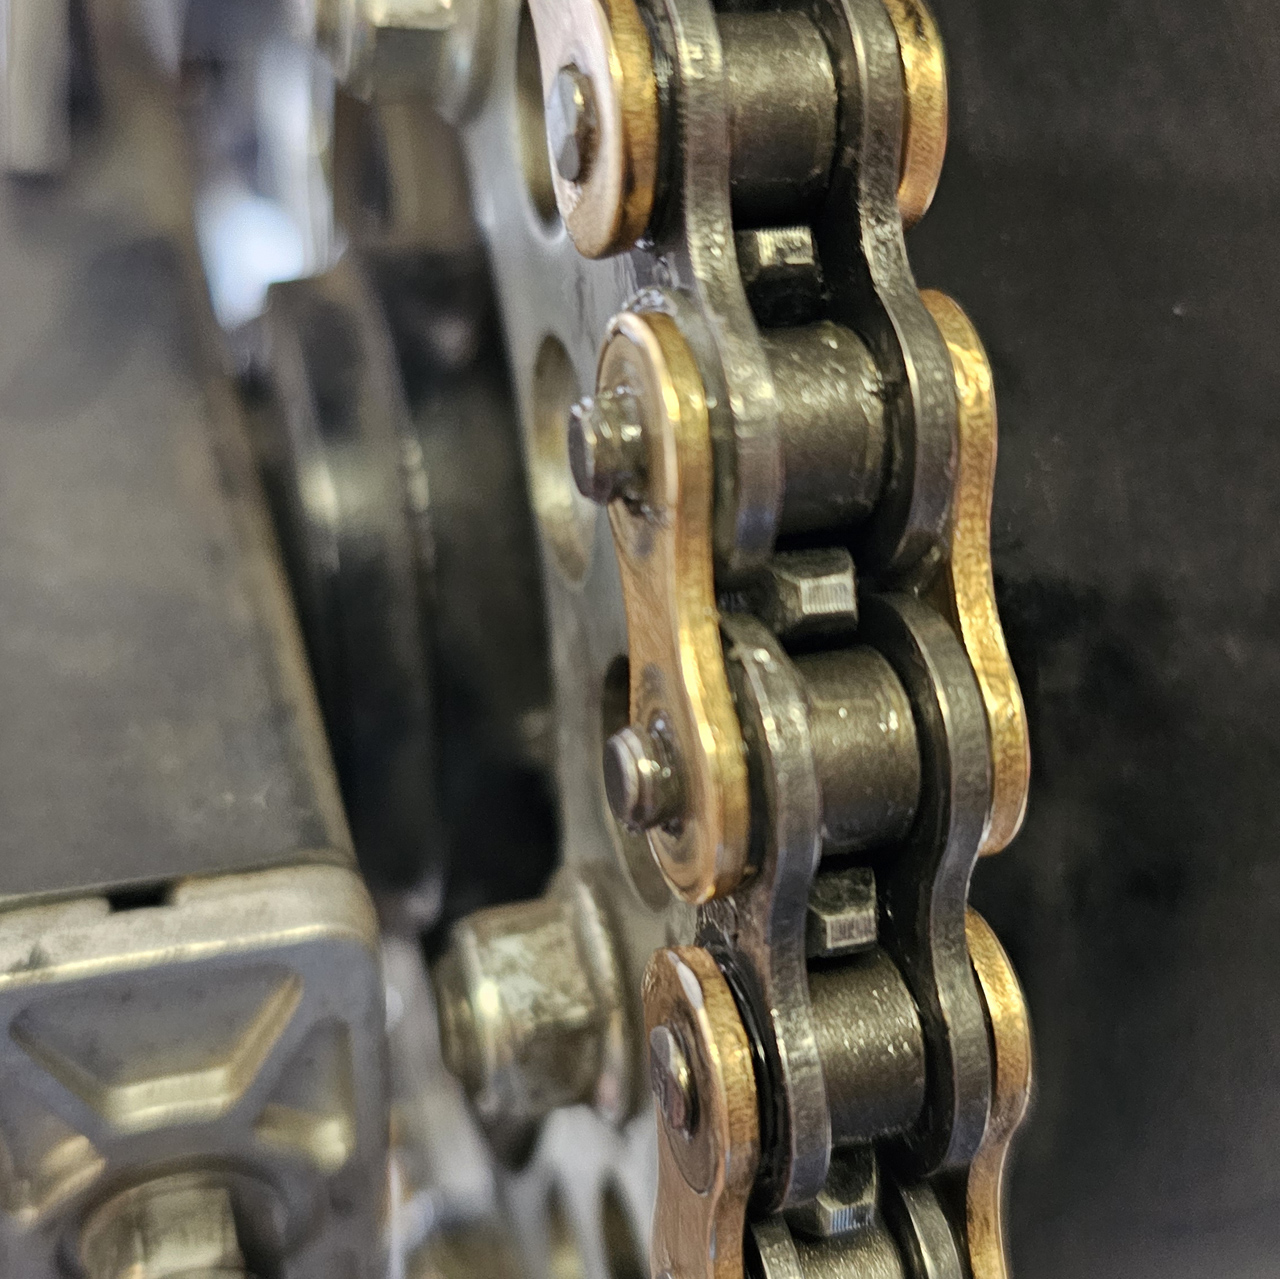
4. Install the Master Link
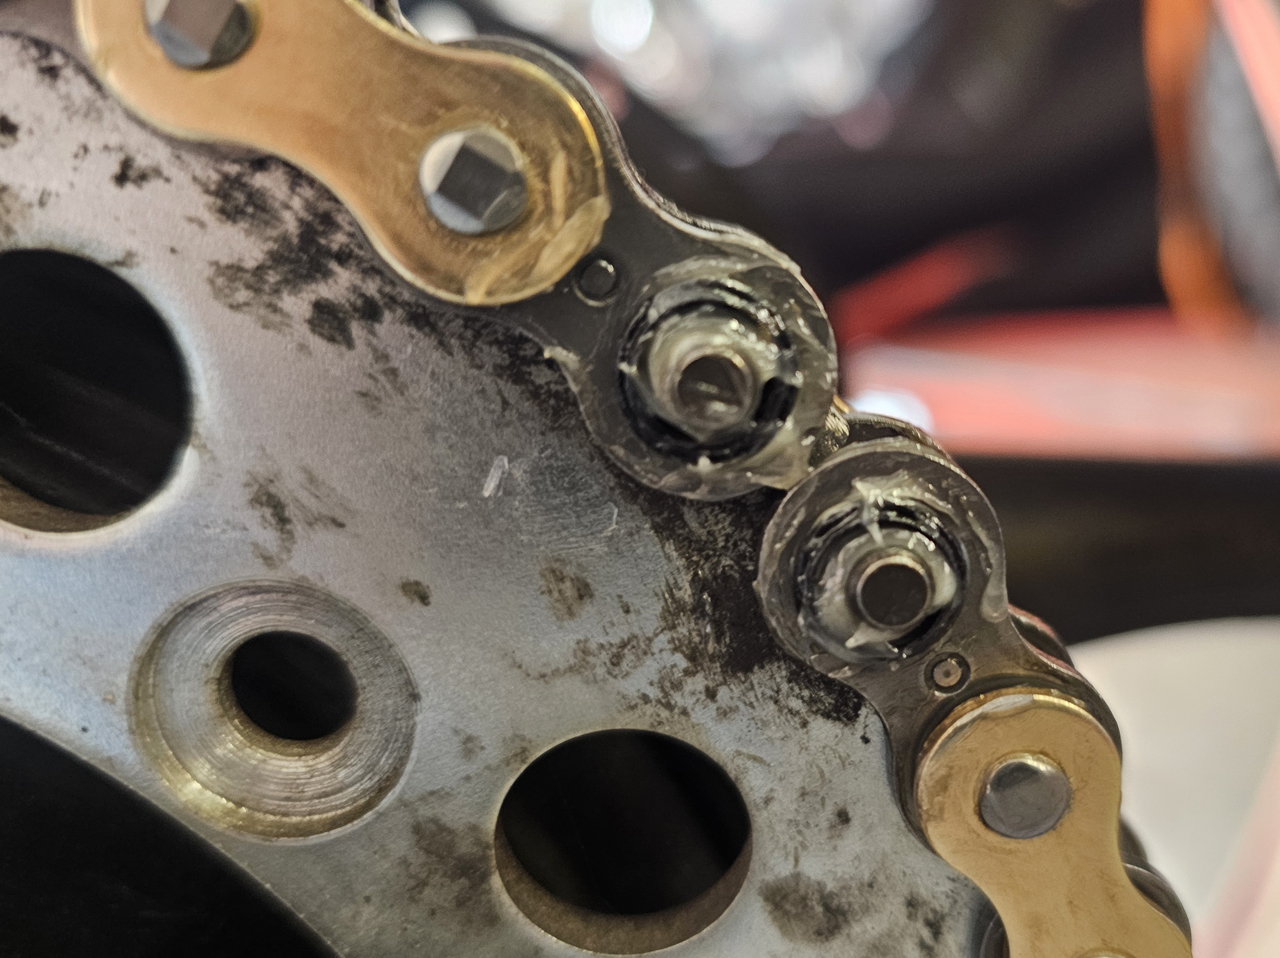
- Clip type: Install O-rings and side plate, then snap clip on with closed end facing chain travel direction. Be sure to use lots of the included grease.
- Rivet type: Use the chain tool to press and flare pins per manufacturer spec.
Image
Image
Image
Image
Image
Image
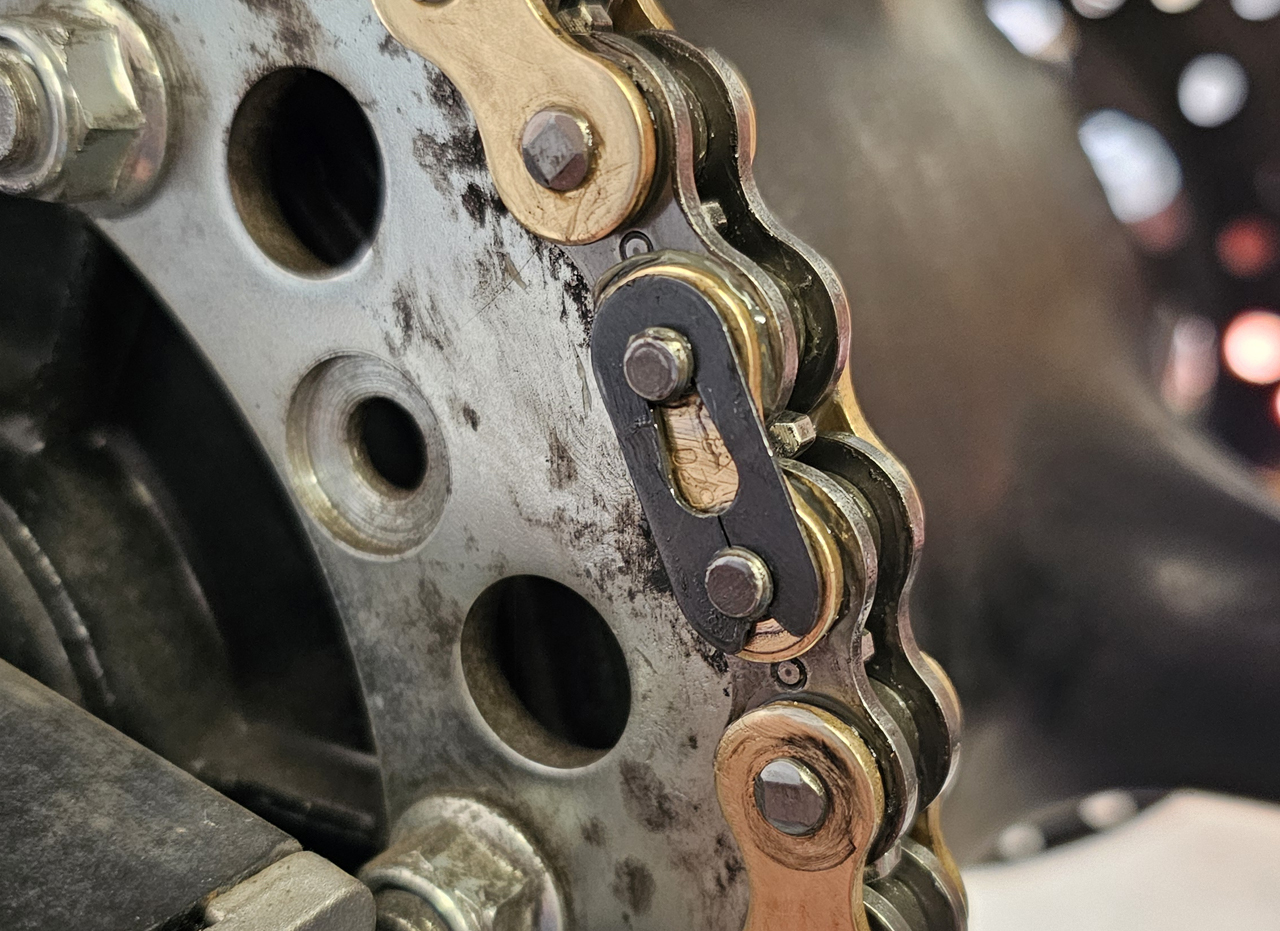
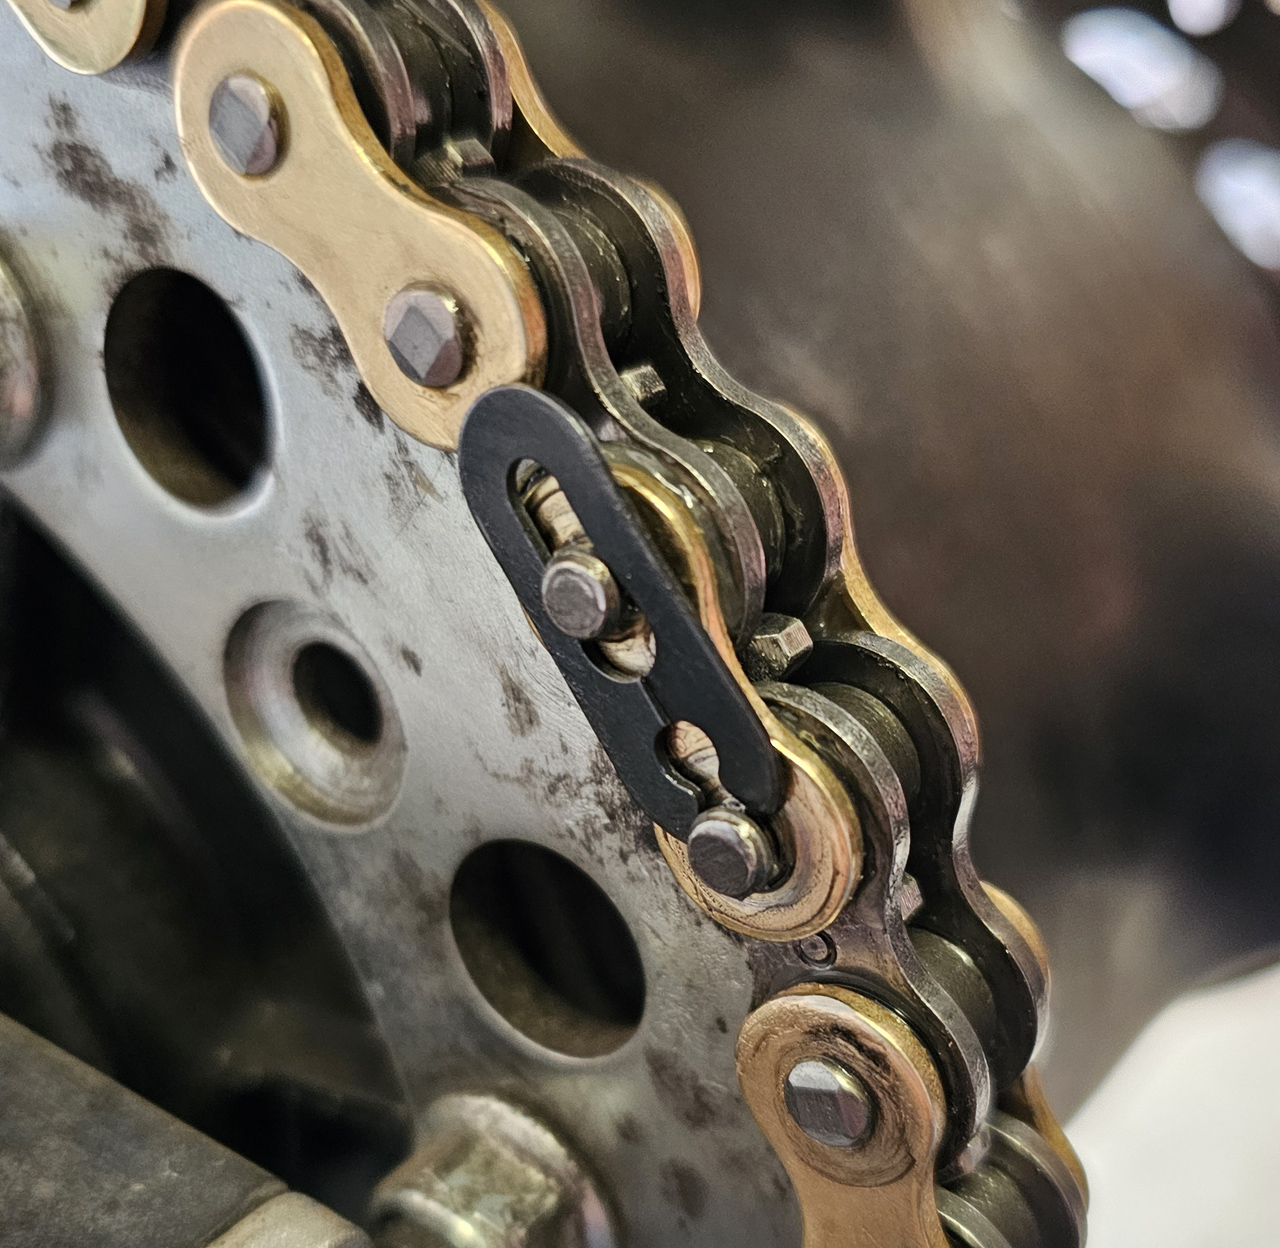
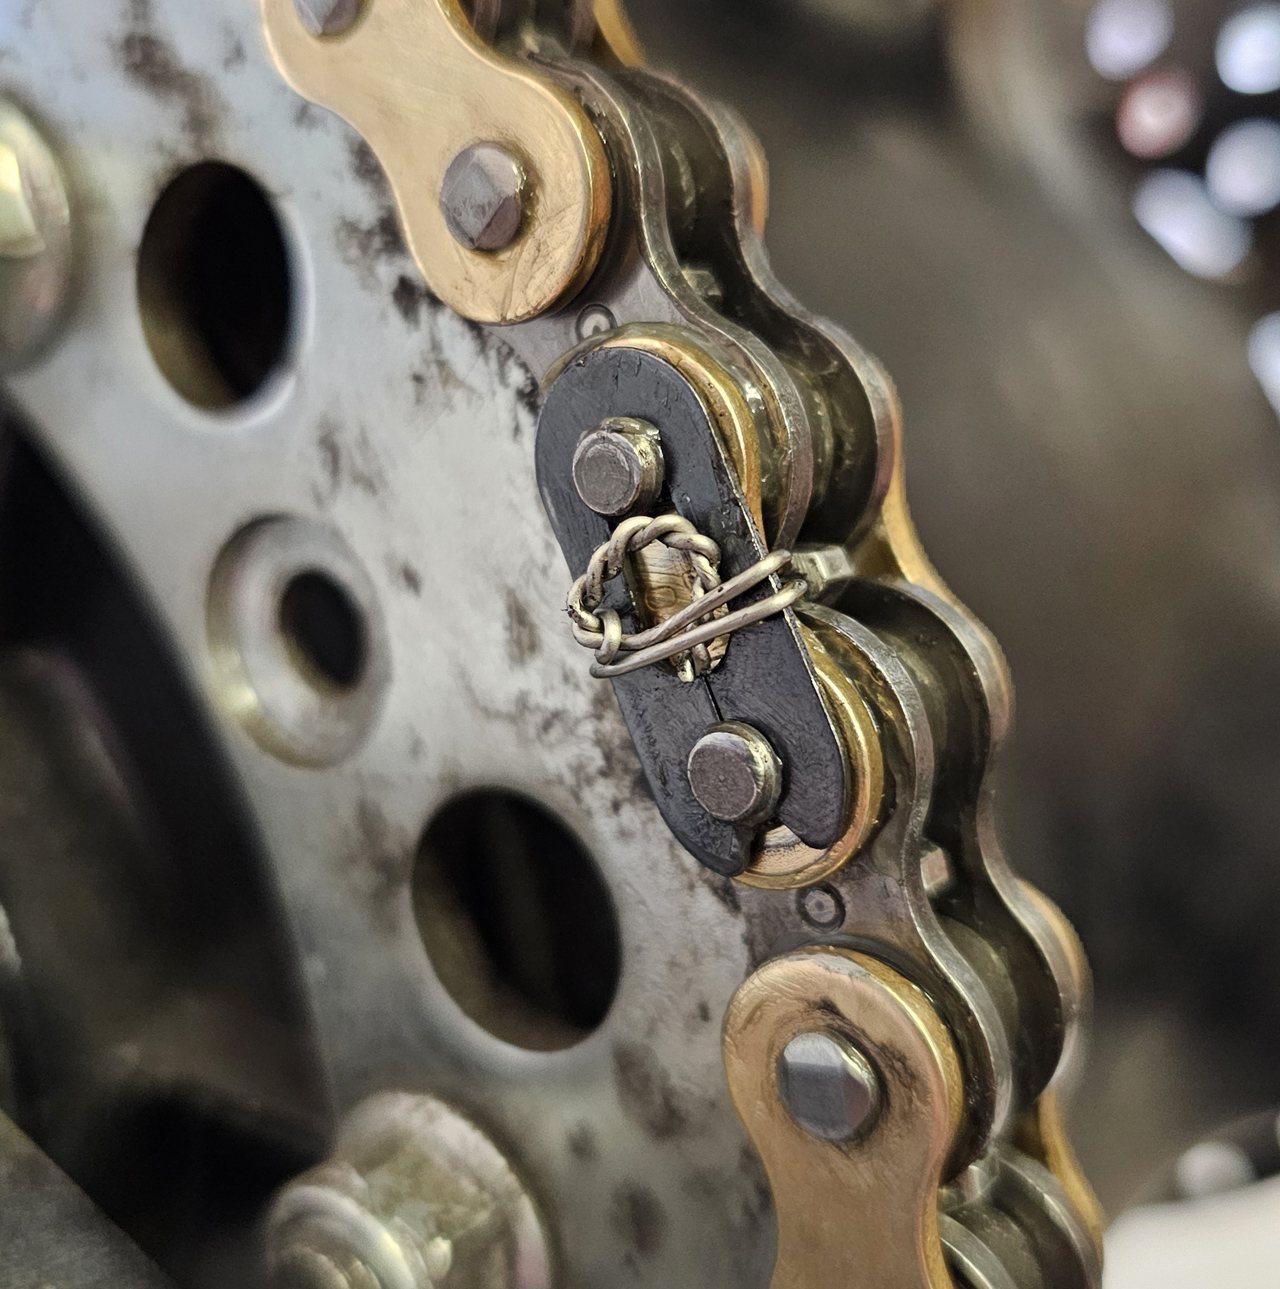
* Pro Tip: For an extra piece of mind, safety wire can be wrapped around the clip to keep it secure
Image
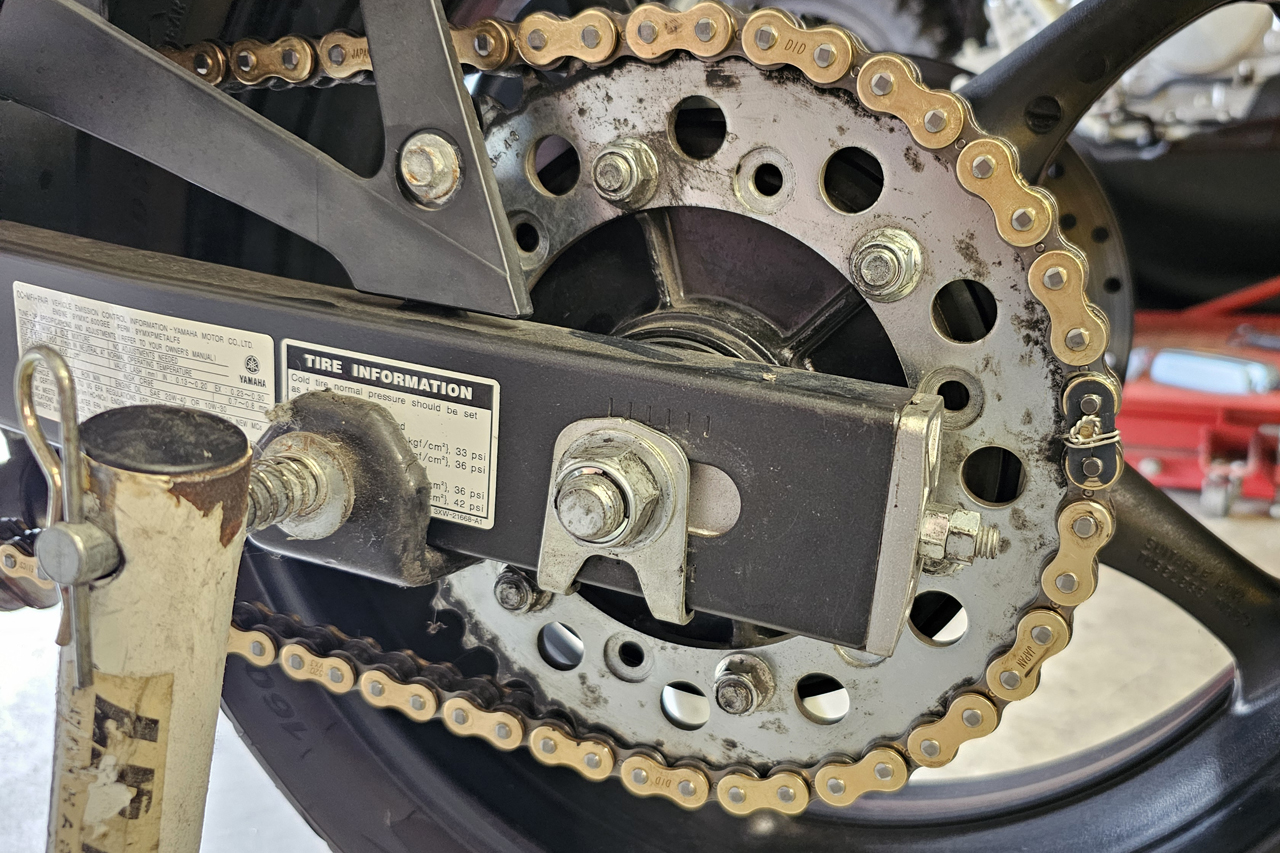
5. Adjust Chain Slack
- Adjust rear axle to set proper chain slack (usually 1–1.5 inches at mid-span).
- Align the rear wheel straight using swingarm marks or an alignment tool.
Image
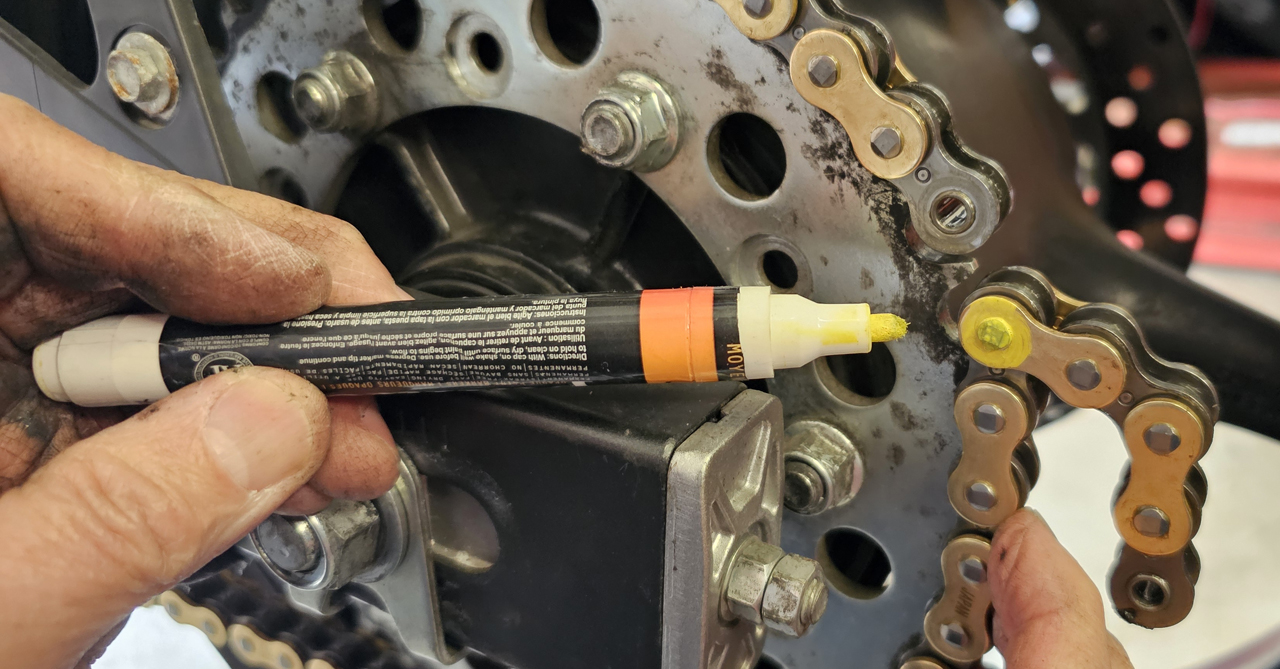
6. Final Steps
- Torque axle and adjuster nuts.
- Spin the wheel and check for tight spots.
- Lubricate the chain.
- Reinstall sprocket cover if removed.
- Test ride and recheck slack after 20–30 miles.
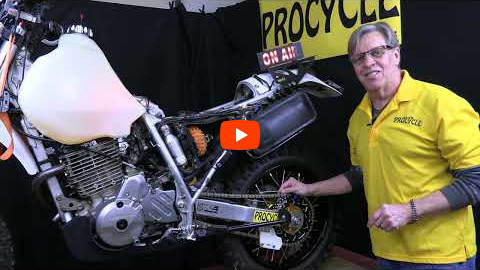
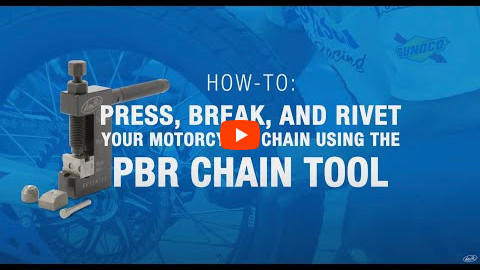
For addition information on the Motion Pro PBR chain tool watch this video:
How-to: Remove And Install Your Motorcycle Chain With The PBR Chain Tool
Want to learn more about Master Links? Check out this video!
Tech Talk: Master of Links