
Important: All appropriate safety equipment and gear must be used during the installation of this or any other ProCycle product including any time you work on a vehicle. ProCycle accepts no responsibility for injuries or damage incurred during the installation of any products.
Subframe Brace Installation Instructions – XR650L
Included Parts:
- 2x Brace Arms
- 2x Long Bolts
- 3x Medium Bolts
- 3x Spacers
- 5x Washers
- 2x Nuts
- 1x Bar Clamp (right/exhaust side)
Installation Steps:
Upper Mounts
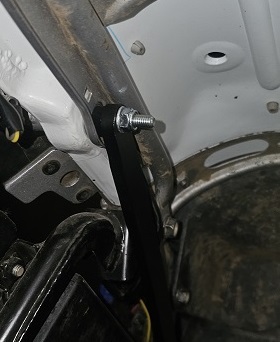
- Install the two long bolts at the upper part of the brace.
- Use one spacer on the inside of the frame with each bolt.
- Each long bolt also uses two washers (one under the bolt head, one under the nut).
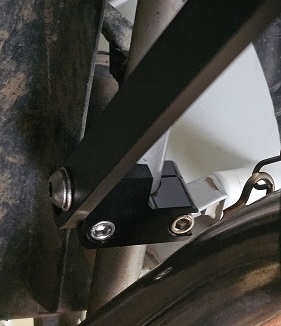
Left Side (Non-Exhaust Side)
- Position the brace behind the upper hole of the passenger foot peg mount.
- Lower hole of passenger foot peg bracket → install 1 spacer + 1 medium bolt.
- Upper hole of passenger foot peg bracket (brace behind mount) → install 1 medium bolt only (no spacer).
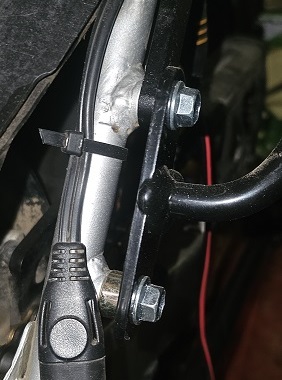
Right Side (Exhaust Side)
- Attach the bar clamp to the frame.
- Attach the brace to the bar clamp next to the exhaust.
- Use the remaining medium bolt with one washer.
Images for reference only, our bike does not have passenger pegs and some hardware may be different from what is supplied in the kit.