These instructions will show you how easy it is to install the Magura Hydraulic on the KLR. While the photos and step-by-step are shown on a Gen. 2 model, it will be the same basic procedure for the Gen. 1 model as well.
Begin by taking the bolt out of the pivot of your lever and removing the lever. Then you can pivot it forward and remove the lever from the cable and then pull the cable out of the perch. Now remove your left grip and take the switch control unit apart and let it hang by the wiring harness. With all of that out of the way, you can now slide the stock clutch perch off the end of the bar.

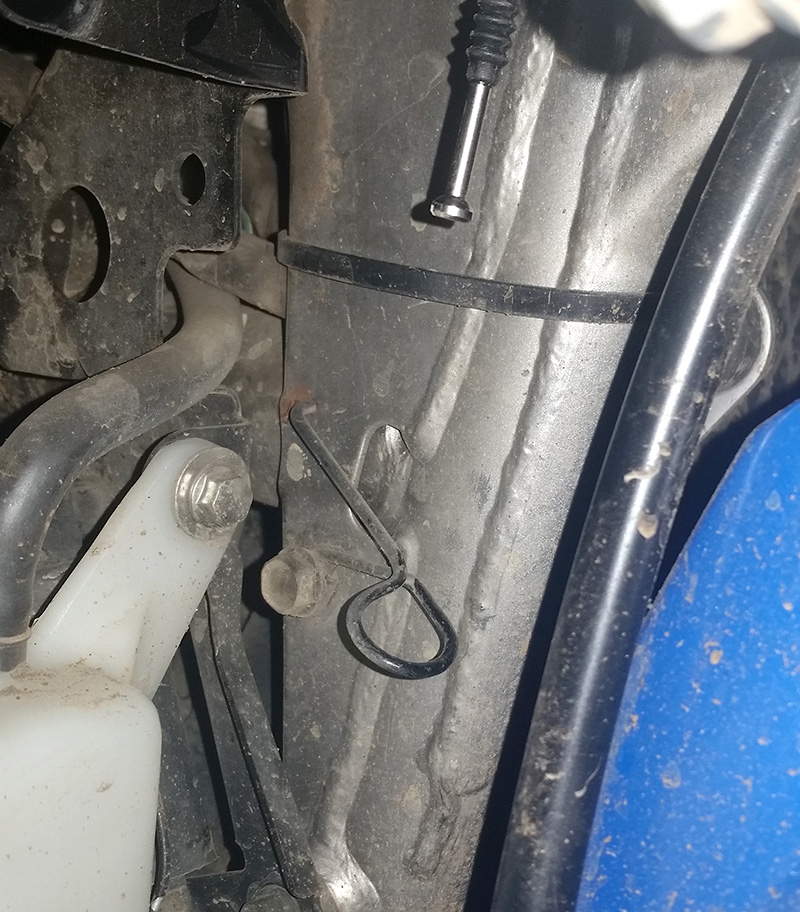
With the cable removed on the bar side, there is now enough slack to remove the cable from the actuating arm just behind the oil filler cap.

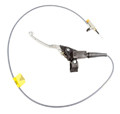
Before removing the stock cable, take a quick look and remember where it goes as the Magura line will go in the same place!
Remove the cable from the bottom holder and gently pull the cable down and out. It is easy to remove the stock cable by just pulling it out from the bottom.
Now it is installation time! Start by clamping the Magura master cylinder/lever unit loosely to the handlebars. This keeps it where it needs to be so it is not bouncing off your tank. Then route the other end down through the same path as the stock cable.
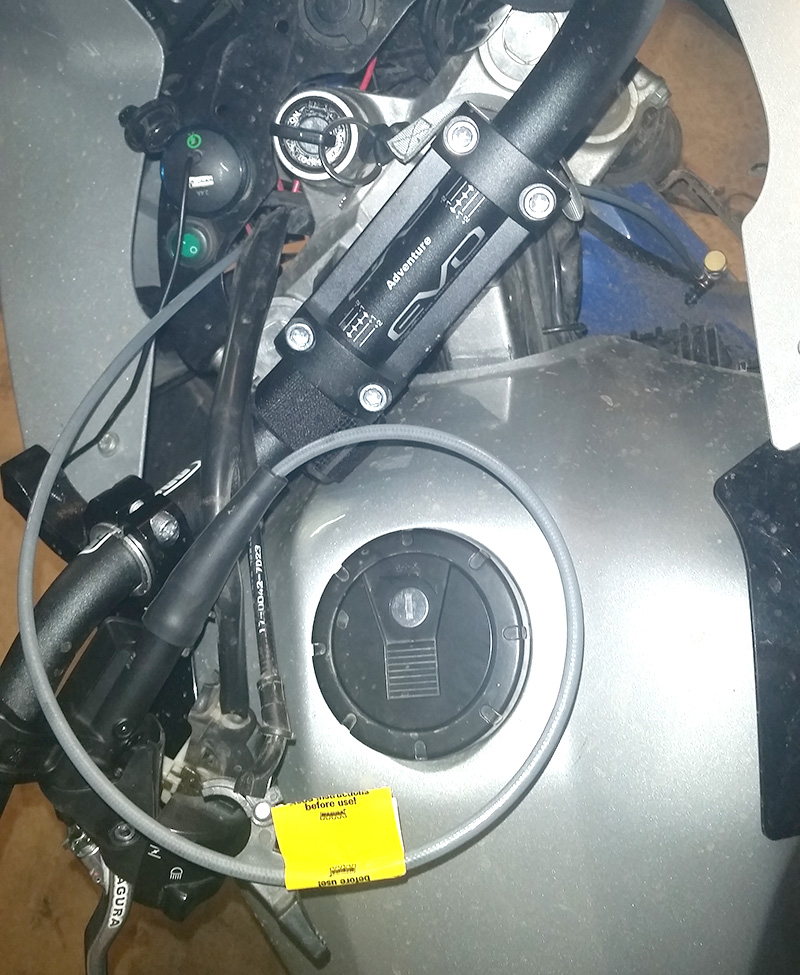
As you feed the line down, it is much easier to access the guides if you remove the cover for the radiator reservoir.
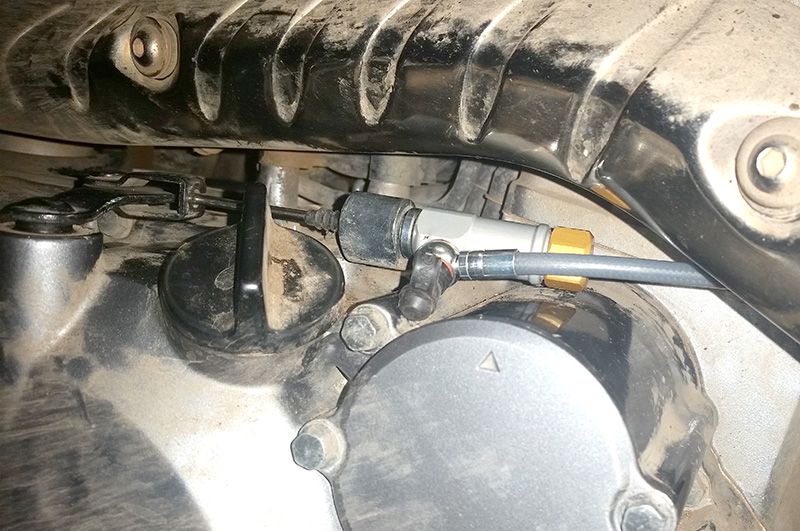
Once the line is correctly routed down from the bars, continue following the path of the stock cable until the slave cylinder is routed behind the header pipe and just above the oil filter. Slide the end through the cable stop until the slave cylinder bottoms out on the bracket. Then, in order to actually connect the end of the pull rod, you will have to use a large screwdriver to push the actuator arm forward slightly. Once it is comes forward a bit, you can slide the rod through the cut and connect it, then release the screwdriver. Pull the clutch lever in several times so you can be sure it is moving properly and takes up any slack. Now, give yourself a pat on the back as the tough part is DONE! Should look something like the image below.
The only thing left to do is connect or bypass your clutch safety switch. If you want to leave your Clutch Safety Switch in place, you will have install the supplied switch with the Magura unit on the master cylinder and then wire that to the stock KLR harness. There are just two wires and it should not be too difficult to do.
Now enjoy that super light pull at the lever whenever you pull in the clutch.